Unityユーザーならコンポーネントはよく知ってると思います。Unityはコンポーネントパタンをうまく利用して非常に拡張しやすいゲームエンジンを作りました。
コンポーネントの良さは同じコードをいろんなプロジェクトに使えるというところです。
cocos2d-xのComponent
実はcocos2d-xにcocos2d::Componentというクラスが存在しています。このクラスを継承することで、Unityみたいに各機能をコンポーネント化できます。PlayerInputComponentをサンプルとして作りながら説明しよう。
サンプル:PlayerInputComponent
PlayerInputComponentはタップする先に移動させるコンポーネントです。
PlayerInputComponent.h
#include "cocos2d.h"

// cocos2d::Componentを継承する
class PlayerInputComponent : public cocos2d::Component
{
public:
    PlayerInputComponent();
    virtual ~PlayerInputComponent();

    virtual bool init();
    virtual void onEnter();
    virtual void update(float delta);

    // touch events
    bool onTouchBegan(cocos2d::Touch* touch, cocos2d::Event* event);
    void onTouchMoved(cocos2d::Touch* touch, cocos2d::Event* event);
    void onTouchEnded(cocos2d::Touch* touch, cocos2d::Event* event);
    void onTouchCanceled(cocos2d::Touch* touch, cocos2d::Event* event);

    // PlayerInputComponent::create()メソードを作成してくれるマクロ
    CREATE_FUNC(PlayerInputComponent);

protected:
    // listener
    cocos2d::EventListenerTouchOneByOne *touch_listener_;

    // 移動先
    cocos2d::Vec2 move_to_;

    // 今の場所
    cocos2d::Vec2 cur_pos_;

    // スピード
    float speed_;
};
PlayerInputComponent.cpp
#include "PlayerInputComponent.h"

USING_NS_CC;

PlayerInputComponent::PlayerInputComponent():
touch_listener_(nullptr),
move_to_(Vec2::ZERO),
cur_pos_(Vec2::ZERO),
speed_(0)
{

}

PlayerInputComponent::~PlayerInputComponent()
{
    touch_listener_->release();
}

bool PlayerInputComponent::init()
{
    if (! Component::init()) return false;

    // コンポーネントの名前をセット
    // Owner->getComponent(<コンポーネント名>)でinstanceを取得できます
    this->setName("PlayerInput");

    // Listenerを作成
    touch_listener_ = EventListenerTouchOneByOne::create();
    touch_listener_->setSwallowTouches(true);

    // autoreleaseされないように
    touch_listener_->retain();

    touch_listener_->onTouchBegan = CC_CALLBACK_2(PlayerInputComponent::onTouchBegan, this);
    touch_listener_->onTouchMoved = CC_CALLBACK_2(PlayerInputComponent::onTouchMoved, this);
    touch_listener_->onTouchEnded = CC_CALLBACK_2(PlayerInputComponent::onTouchEnded, this);
    touch_listener_->onTouchCancelled = CC_CALLBACK_2(PlayerInputComponent::onTouchCanceled, this);

    return true;
}

void PlayerInputComponent::onEnter()
{
    Component::onEnter();

    // スピードをセット
    speed_ = 400;

    Director::getInstance()->getEventDispatcher()->addEventListenerWithSceneGraphPriority(touch_listener_, this->getOwner());

    // Ownerのupdateを走らせる
    this->getOwner()->scheduleUpdate();
}

void PlayerInputComponent::update(float delta)
{
    // 今の位置と目的地座標が違うであれば:
    if (! this->getOwner()->getPosition().equals(move_to_))
    {
        // 移動距離のx, y座標
        Vec2 v = move_to_ - cur_pos_;

        // 移動距離
        float d = move_to_.distance(cur_pos_);

        // 現在の位置
        Vec2 to = this->getOwner()->getPosition();

        // 移動速度
        Vec2 s = Vec2(v.x * speed_/d, v.y * speed_/d);

        //
        to += s * delta;

        // 誤差を補正
        if (v.x < 0) {
            if (to.x < move_to_.x) to.x = move_to_.x;
        } else {
            if (to.x > move_to_.x) to.x = move_to_.x;
        }
        if (v.y < 0) {
            if (to.y < move_to_.y) to.y = move_to_.y;
        } else {
            if (to.y > move_to_.y) to.y = move_to_.y;
        }

        // Ownerの位置更新
        this->getOwner()->setPosition(to);
    }
}

bool PlayerInputComponent::onTouchBegan(cocos2d::Touch* touch, cocos2d::Event *event)
{
    CCLOG("On touch began");
    return true;
}

void PlayerInputComponent::onTouchMoved(cocos2d::Touch* touch, cocos2d::Event *event)
{
    CCLOG("On touch moved");
}

void PlayerInputComponent::onTouchEnded(cocos2d::Touch* touch, cocos2d::Event *event)
{
    // 今の位置と目的をアサインする
    cur_pos_ = this->getOwner()->getPosition();
    move_to_ = touch->getLocation();


    CCLOG("On touch ended");
}

void PlayerInputComponent::onTouchCanceled(cocos2d::Touch* touch, cocos2d::Event *event)
{
    CCLOG("On touch canceled");
}
Componentを使う
Componentを使うのが簡単です。addComponent()にComponentのインスタンスを渡すだけです:
auto sprite = Sprite::create("HelloWorld.png");
sprite->addComponent(PlayerInputComponent::create());

this->addChild(sprite, 0);
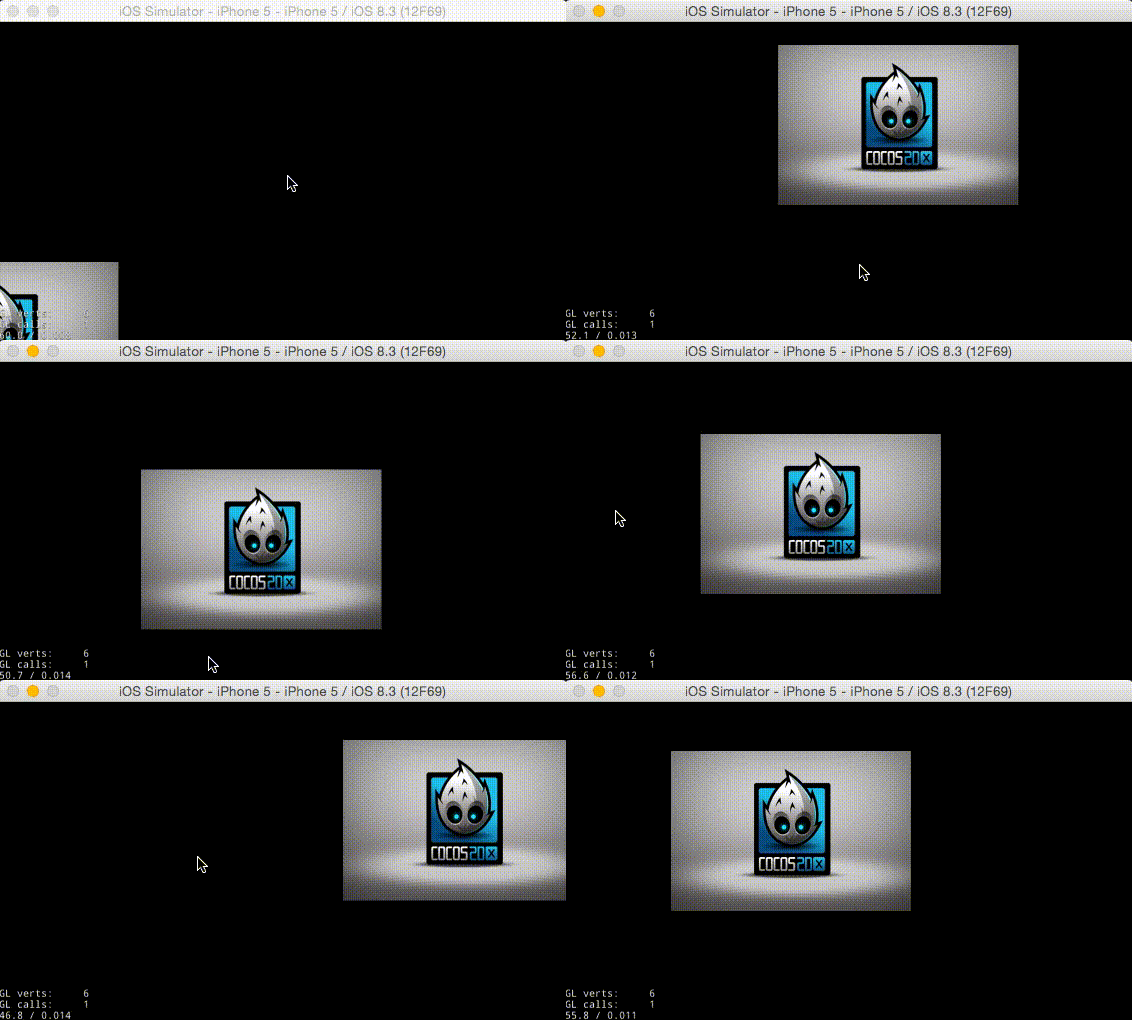
デモ

まとめ
Componentパタンのいいところは、少しのパフォーマンスコストでDRYなコーディングができます。極端にパフォーマンスを追求するゲームじゃなければ、Componentパタンをおすすめします。